Harp

Installation
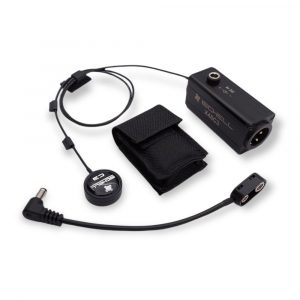
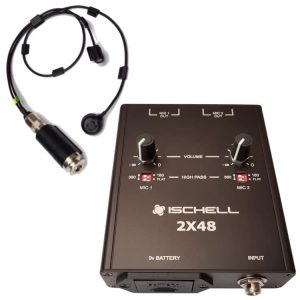
Removable systems: C2BHP, C3BHP, X48C / X-Jack / 2X48AC / 2X48+ ACPJ / 2X48CC
Systems with microphone kit: CJM / CPJ / ACPJ / CCPJ
- These systems can be used temporarily outdoors, but it is advisable to install them indoors at all times. The sound will be stable between sessions, the microphone will be protected, invisible and your system will be ready to go at all times.
- Plan your cable route and system placement.
- Clean the gluing spots. The location of the microphone must be perfectly clean.
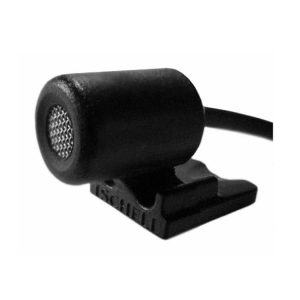
- Place the contact microphone in the desired location on the outside, a cable tie at 3 cm with a little putty then try. Adjust the placement of the microphone if necessary several times, see below, then once the best location is defined, repeat the pose in precisely the same place inside with the help of the wedge, you should find the same sound.
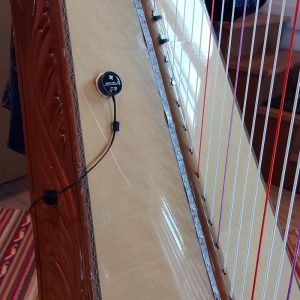
- Secure the aerial pickup with the double sided, the Velcro scratch provided or putty adhesive on the soundboard to the top second third of the harp, facing the string plane, 5 / 7cm from the strings.
- The overhead mic can be stowed inside when not in use, and quickly positioned on the soundboard on the day of use.
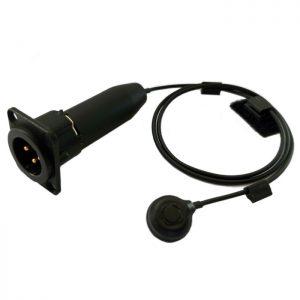
- Fix the connector inside the harp, at the edge of the lower ear, preferably in its upper part so that the cable (s) descend naturally once connected. Validate the placement with the cables connected. In the case ofinside BOX, it can be fixed to the bottom of the harp with the scratch.
- The connection can be attached to the outside with the double-sided provided, for the inside use the scratch, which is more powerful while leaving the connection easily removable.
- The transparent double-sided provided is quite powerful but can be used on a recent varnish in good condition without damaging it. Try it out. Turn the part to peel it off. Cut small pieces suitable for the part of the microphone kit with good scissors and avoiding touching the sticky part as much as possible. Replace it after each test.
Fixed installation: inside J48C volume button option and inside X48C

inside J48C :
- The installation of an “inside” system generally requires the intervention of a luthier, in particular for drilling operations.
- Plan your cable route and system placement.
- Clean the gluing spots. The location of the microphone must be perfectly clean.
- Place the contact microphone in the desired location on the outside, a cable tie at 3 cm with a little putty then try. Adjust the mic placement if necessary a few times, see below, then once the best location is defined, re-pose in precisely the same place inside, you should find the same sound again.
- Drill the hole for the Jack to 12 millimeters. Drilling an instrument and installing the Jack
- If you have the potentiometer option, position it with the Velcro at the edge of a gill so that it is easily accessible, but protected.
- Secure the 9v battery pouch with the Velcro near a gill so that it is easily accessible. Once attached, you just need to open it to remove the 9v battery and the changst (500 Hours).
inside X48C :
- For theinside X48C, drill to 24 millimeters insideX48C-drawing. Insert the microphone through the outside hole then attach the XLR. Then place the contact microphone by following the instructions below.
Positioning of the contact microphone
- As a reminder, it is important to properly prepare your contact microphone for installation, do not hesitate to reread the advice below depending on your model:
- Original C1 contact microphone preparation page
- C2 and C3 contact microphones preparation page
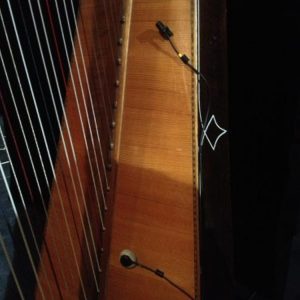
- For Classical and Celtic harps, we recommend placing the contact microphone on the soundboard, in the first lower third of the harp, at C or C level.hangtype of strings, in the first third of the width of the soundboard, center side.
- For the Paraguayan harps we recommend a placement at the level of the central medium C on the harp, and at two thirds of the width of the soundboard, on the outside.
- Make your first attempts. Generally the tonal balance is good, but if you notice a flagrant imbalance with a lack of power of the high strings for example, then move the microphone towards the highs and vice versa.
- Closer to the strings for a sound with more attack, more dynamics. Further for a smoother, rounder sound.
- Your system is delivered to you with the low cut positioned on 360Hz. The default position, however, is Flat for the harp. If after determining the best placement for the string power balance, you find the sound lacks bass, then set the low cut to 180Hz. If you find that the sound lacks depth in the bass, set it to Flat.
- If the sound is too bright, try resting the mic in the same spot with the gray putty for a duller sound in the highs and rounder in the bass. May be suitable for bronze string harps
- In the case of a second contact microphone, place it close to the treble to create a stereo, or at the same level for two different mixes ...
Positioning of the aerial microphone
- The aerial microphone will be placed with putty or double-sided adhesive on the soundboard at the top second third of the harp, directed towards the string plane, 5 / 7cm from the strings.
- The low cut position for overhead mics is always 360Hz, your system is delivered to you in this position.
Stage use
- Contact microphone: allows high face/monitor levels, easier use on an amp. Use of effect pedals, loopers with loops isolated from stage sound…
- The aerial microphone gives air in the sound, the proximity reverberations, the touch.
- Contact microphone + Aerial on noisy stages, put only the contact microphone in return and on the front panel 65% contact and 35% aerial.